Installing mCaptcha on your website
mCaptcha can protect your website from DDoS attacks. In this guide we’ll explore how to install mCaptcha on your website. The end result will be something like this, on your website:
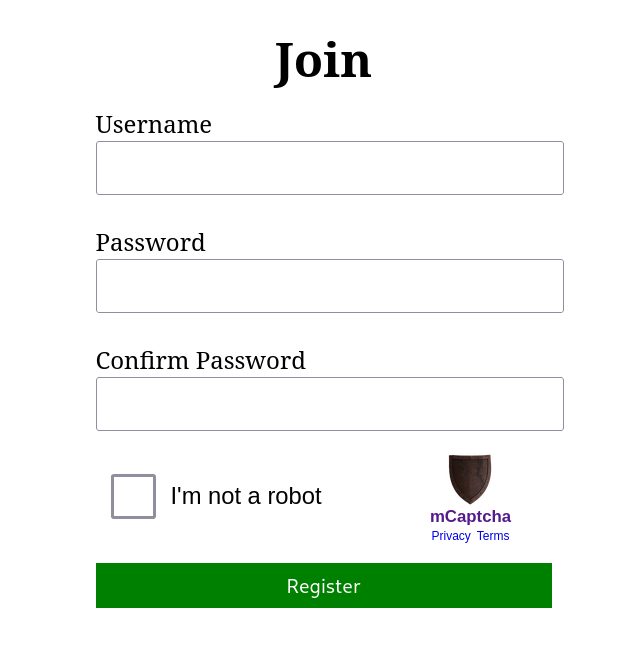
For the purpose of this demo, we will be using demo.mcaptcha.org, a demo instance running in @realaravinth’s bedroom(for this same reason, it shouldn’t be used for anything serious)
1. Create an account and sign into the mCaptcha dashboard
Head over to demo.mcaptcha.org and create an account. When ready, sign in.
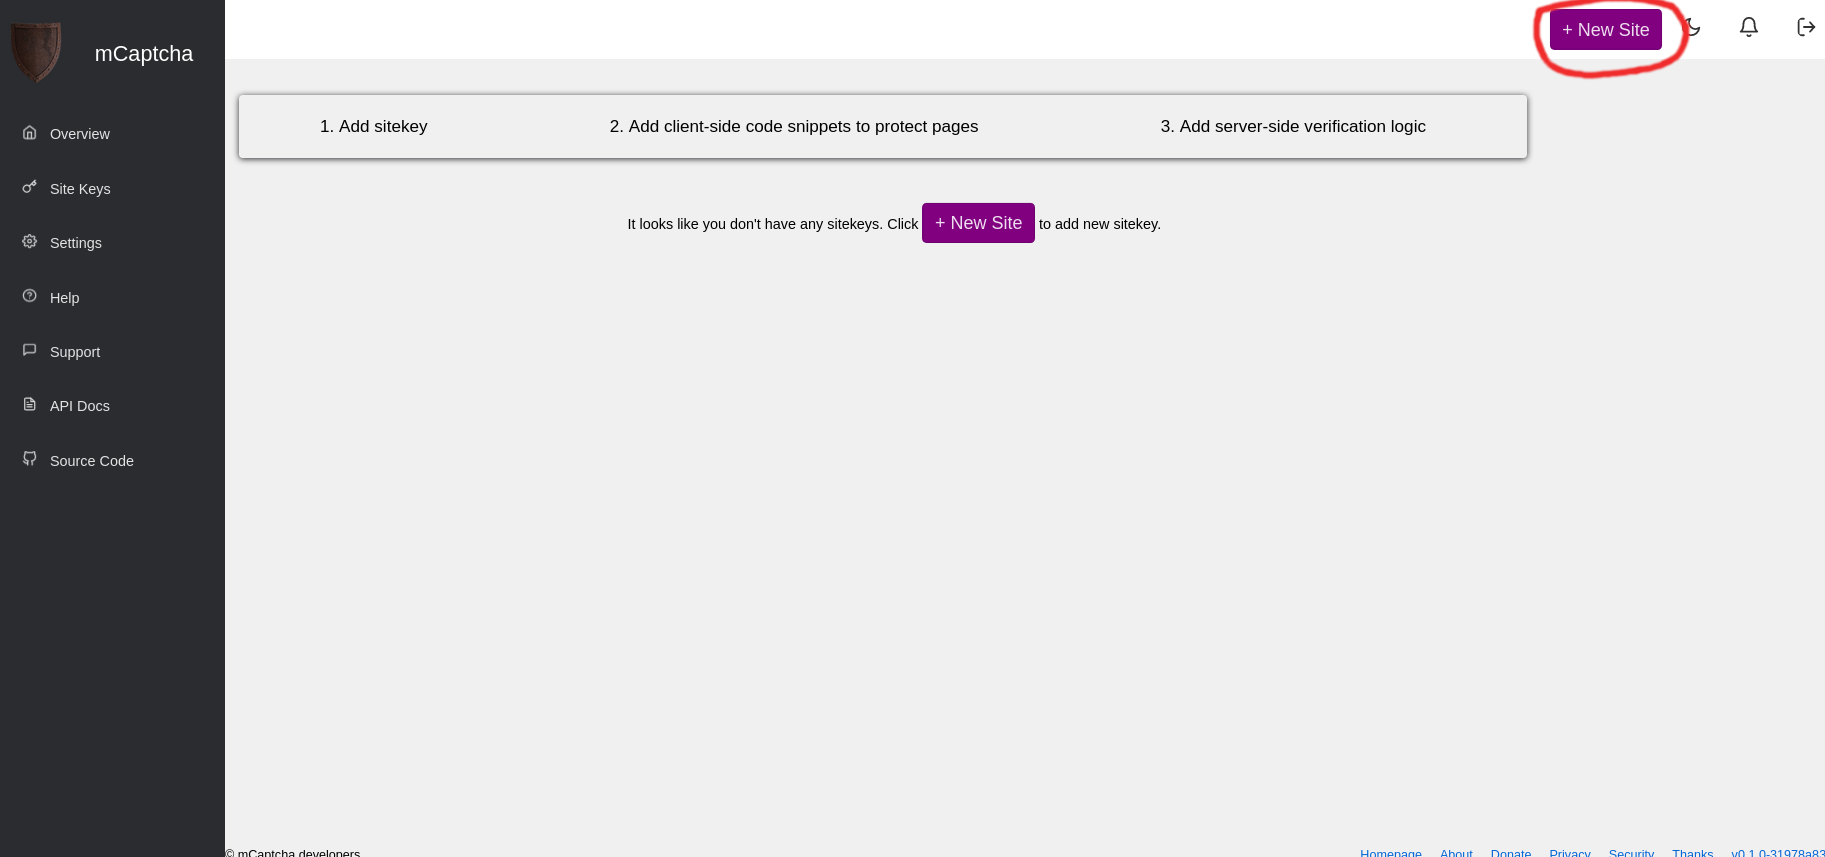
2. Create new site key
A site key is how a new CAPTCHA is configured within mCaptcha. To create a new site key, click on “New Site” button in the dashboard.
There are two options to create a new site key, easy and advanced. We are going to use the easy mode in this tutorial. If you are interested in learning more about the advance mode, please see here.
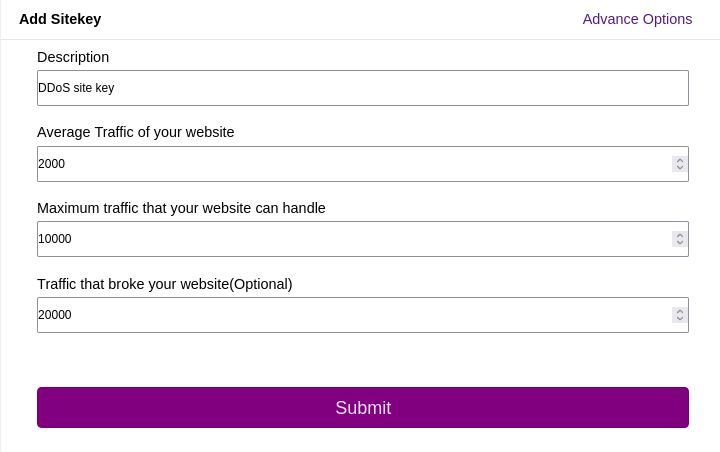
Easy Mode
Easy mode asks a few basic statistics about your website and generates a configuration that should work for your website. Currently, easy mode is guided by assumptions on suitable difficulty factors to protect a website but it will be fine-tuned as mCaptcha sees more deployment.
Configuration generated by easy mode can be tweaked later using the advance mode, as you become more familiar with how mCaptcha works.
Fill the form and submit it.
3. Copy widget link
Submitting the form will take you to a page where site key configuration can be viewed. “View deployment” link will display CAPTCHA widget with the supplied configuration. Click on it and grab the widget link.
4. Install mCaptcha on your website
Integration support is available for some frontend JavaScript frameworks. To see full list of supported frameworks, please see here.
There are two options to use the integration library to integrate mCaptcha on your website:
- Serve the integration library yourself
- Use a CDN like unpkg.com
In this tutorial, we’ll be using the CDN.
Pasting the following snippet on the page, within the form that requires to be protected
will load the mCaptcha widget with the configuration supplied. Be sure
to replace Your {{paste your widget link}} with the link obtained from
the previous step.
 1<div id="mcaptcha__widget-container"></div>
 2<script src="https://unpkg.com/@mcaptcha/vanilla-glue@0.1.0-alpha-2/dist/index.js"></script>
 3<script charset="utf-8">
 4  let config = {
 5    widgetLink: new URL(
 6      {{paste yout widget link}}
 7    ),
 8  };
 9  new mcaptchaGlue.default(config);
10</script>
A full example is available here.
5. Configure backend to authenticate CAPTCHA tokens
Get access token from the user’s form submission payload. The access token will be associated with a parameter called
mcaptcha__token.1 mcaptcha_token = request.form["mcaptcha__token"]Validate access token with mCaptcha instance
 1payload = {
 2    "token": mcaptcha_token,
 3    "key": mcaptcha_sitekey, # captcha site key
 4    # mCaptcha account secret; available in settings
 5    "secret": mcaptcha_account_secret,
 6}
 7resp = requests.post(
 8    "https://demo.mcaptha.org/api/v1/pow/siteverify", json=payload
 9)
10resp = resp.json()- If access token is valid, allow access to protected resource or deny access.
1 if resp["valid"] == False:
2     return "invalid captcha", 400
3 else:
4     return allow_access_to_protected_resource(request.form)
Please see here for a complete Flask example and here for an Actix Web example.
Congratulations, mCaptcha is now integrated with your website!